
Special Price
$73.37
Regular Price
$92.95
In stock
Available Quantity:
157
SKU
5304503232
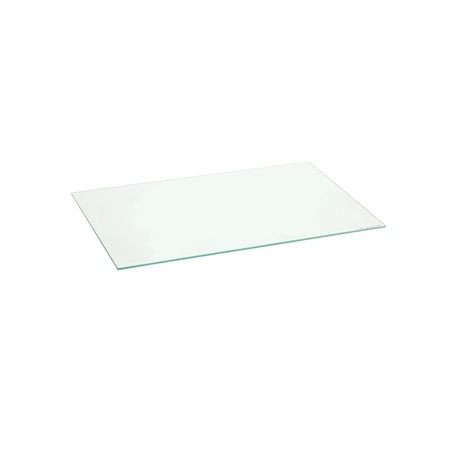
The Frigidaire 5304503232 Inner Door Glass is used to provide a clear and properly insulated door in the oven. This glass lid helps to insulate heat while at the same time enable to watch food as it cooks. Designed for high performance and to fit better on the oven door to ensure equal distribution of heat and energy conservation. This makes it safe to use since it does not conduct heat and therefore retains the heat required to cook food.
Manufacturer

✓ This Product Replaces:
316117500, 316237100, 316117504, 316117503, 316117502, 316117506
This Part Fits the Following Models (452)
Frigidaire FFEF3054TBE Electric Range
Frigidaire FFEF3054TBD Electric Range
Frigidaire FFEF3054TBF Electric Range
Frigidaire FFEF3015LSN Electric Range
Frigidaire FFEF3054TBB Electric Range
Frigidaire FFEF3054TBC Electric Range
Frigidaire FFEF3056TWB Electric Range
Frigidaire FFEF3056TWC Electric Range
Frigidaire FFEH3051VSA Electric Range
Frigidaire FFEF3051TSB Electric Range
Frigidaire FFEF3051TSC Electric Range
Frigidaire FFEF3051TWA Range
Frigidaire FFEF3051TWB Electric Range
Frigidaire FFEF3051TWC Electric Range
Frigidaire FFEF3052TBA Electric Range
Showing 1-15
of 452
| MANUFACTURER NAME: FRIGIDAIRE PRODUCT NUMBER: 5304503232 OEM PART NUMBER: 5304503232 PRODUCT DESCRIPTION: OVEN DOOR GLASS (NOTE) |
CHOOSE THE BEST HOME APPLIANCE PARTS AND SUPPLIES FROM HNKPARTS!
SAME DAY SHIPPING
BEST QUALITY AND BEST PRICE
WIDE RANGE OF INVENTORY
BEST CUSTOMER SERVICE
HAVE MORE QUESTIONS OR NEED HELP TO PLACE THE ORDER?
REACH US AT (866)723-0907 OR [email protected]
Write Your Own Review
Customer Questions
Installation Steps
Step1: Disconnect power to the oven and allow it to cool completely.
Step2: Open oven door and remove screws securing the inner panel.
Step3: Separate the door panels to access the glass.
Step4: Remove damaged glass and clean frame area thoroughly.
Step5: Position new inner door glass into the frame correctly.
Step6: Reassemble door panels and tighten screws securely.
Step7: Restore power and check door alignment and sealing.
