
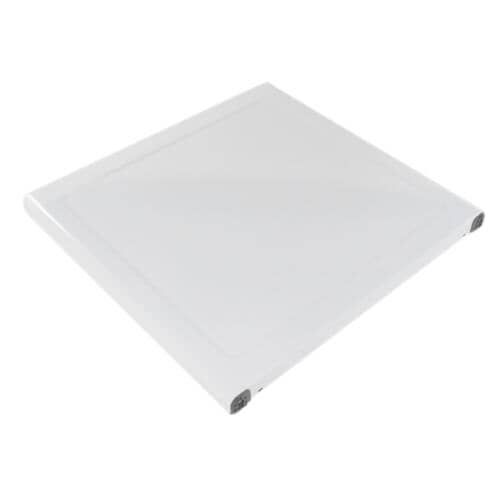
Samsung DC97-21428J Dryer Top Cover Assembly

Special Price $207.45 Regular Price $268.95
In stock
Available Quantity:   16
SKU
DC97-21428J

Product Description

The Samsung DC97-21428J Dryer Top Cover Module designed to shield internal parts and facilitate proper air circulation for effective drying. It work through the process of enclosing the upper part of the dryer to avoid the accumulation of dust and heat loss. It is compatible with the unit and makes a valuable addition in terms of performance and safety. It also minimizes noise and damage to some of the internal parts. This replacement part contributes to the proper functioning of the dryer and enhances its performance by minimizing possible problems that require maintenance.
Manufacturer

https://www.hnkparts.com/media/catalog/product/d/c/dc97-21428j_samsung_hnkparts.png
Manufacturer Name: Samsung
Product Number: DC97-21428J
OEM Part Number: DC97-21428J
Product Description: Cover Top-Module

Choose the best Home Appliance parts and supplies from HnKParts!

  • Same Day Shipping

  • Best Quality And Best Price

  • Wide Range of Inventory

  • Best Customer Service

Have More Questions or Need Help to Place The Order?
Reach us at (866)723-0907 or [email protected]

Write Your Own Review
You're reviewing:Samsung DC97-21428J Dryer Top Cover Assembly
Your Rating
Customer Questions
What maintenance is required for the Samsung DC97-21428J Top Cover Assembly?

Clean the dryer top cover regularly with a soft, damp cloth to remove dust and lint. Avoid using abrasive cleaners that can scratch the surface. Check for cracks or warping, and ensure the cover is securely fastened to avoid rattling during dryer operation.

What are common issues with the Samsung DC97-21428J Top Cover Assembly?

  • Dryer cracks or damage from impact.
  • Loose or rattling cover.
  • Warping due to heat exposure.
  • Difficulty securing the top cover properly.

Installation Steps

Step1: Unplug dryer and wait for drum to stop completely before starting.

Step2: Remove screws at rear and top edges of existing cover.

Step3: Lift old top cover carefully and disconnect any control harness if attached.

Step4: Position new assembly, align front tabs and rear slots properly.

Step5: Secure with screws evenly, ensuring stable fit.

Step6: Reconnect wiring if present and restore power.