
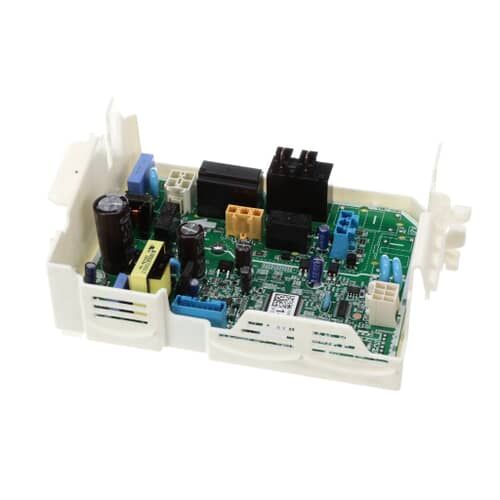
LG EBR31002614 Dryer PCB Assembly

Special Price $224.91 Regular Price $267.95
In stock
Available Quantity:   27
SKU
EBR31002614

Product Description

The LG EBR31002614 Dryer PCB Assembly effectively is to regulate the drying process through the power and data flow of the components. It controls temperature, supervises the sensors, and determines the drying time for the better performance. These signals are then conditioned to optimize the functioning of the dryer as well as the energy consumption and the level of dryness. This makes the appliance more reliable, reduces the time it takes to dry, and prevents overheating to enhance its durability.
Manufacturer

https://www.hnkparts.com/media/catalog/product/e/b/ebr31002614-21497.jpg
Manufacturer Name: LGE
Product Number: EBR31002614
OEM Part Number: EBR31002614
Product Description: Pcb Assy-Main

Choose the best Home Appliance parts and supplies from HnKParts!

  • Same Day Shipping

  • Best Quality And Best Price

  • Wide Range of Inventory

  • Best Customer Service

Have More Questions or Need Help to Place The Order?
Reach us at (866)723-0907 or [email protected]

Write Your Own Review
You're reviewing:LG EBR31002614 Dryer PCB Assembly
Your Rating
Customer Questions
What maintenance is required for the LG EBR31002614 PCB Assembly?

Gently wipe the PCB area with a dry cloth to remove dust or lint that can accumulate near connectors. Check that wiring plugs are seated firmly and free of debris. Confirm all buttons and settings respond correctly during a test cycle.

What are common issues with the LG EBR31002614 PCB Assembly?

  • Dryer does not start or respond.
  • Cycles stop unexpectedly or reset.
  • Error codes display during dryer use.
  • Buttons or touch controls do not register input.

Installation Steps

Step1: Unplug the dryer for safety.

Step2: Remove the top or back panel to access the PCB assembly.

Step3: Disconnect all connectors and mounting screws from the old PCB.

Step4: Install the new PCB, reconnecting all wires and securing with screws.

Step5: Reassemble the panels, plug in the dryer, and run a test cycle.