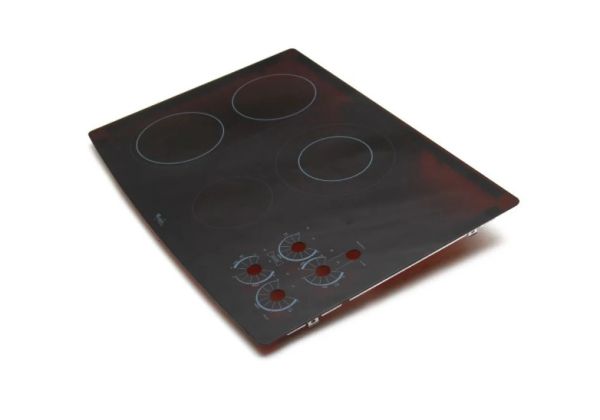
Whirlpool W10239865 Range Main Glass Cooktop Assembly Black
Special Price
$240.32
Regular Price
$264.95
In stock
Available Quantity:
2
SKU
W10239865
Product Description
The Whirlpool W10239865 Range Main Glass Cooktop Assembly – Black provides a smooth, durable cooking surface for efficient heat transfer. It distributes heat evenly to cookware, ensuring consistent cooking performance. The glass surface resists stains and scratches, maintaining a clean and sleek look. Designed for easy installation, it securely fits compatible ranges for reliable operation. The smooth surface allows effortless cleaning, reducing maintenance time. Its durable construction enhances longevity, providing a dependable solution for everyday cooking needs.
Manufacturer

✓ This Product Replaces:
9762689, W10048360, 8286939, 9762692, W10140991