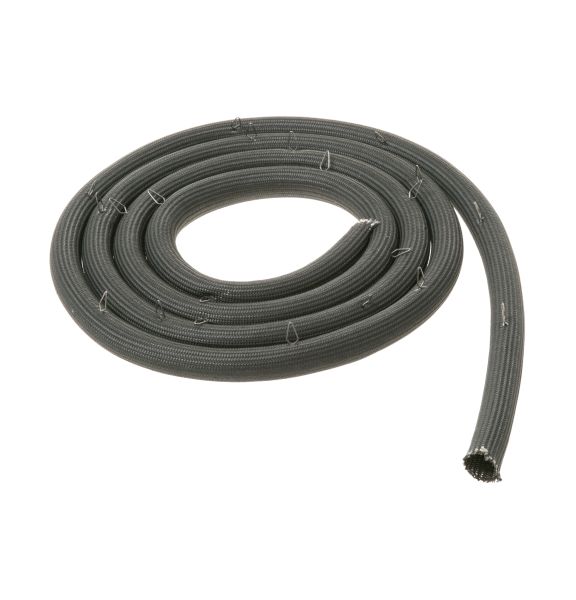
General Electric WB04T10086 Range Oven Door Gasket
Special Price
$30.38
Regular Price
$44.69
In stock
Available Quantity:
1
SKU
WB04T10086
Product Description
The General Electric WB04T10086 Range Oven Door Gasket ensures a tight seal to maintain heat efficiency and prevent leaks. It compresses when the door closes, blocking heat from escaping. This helps maintain consistent cooking temperatures and improves energy efficiency. The durable, heat-resistant material withstands high temperatures and frequent use. It reduces heat loss, ensuring even baking and roasting results. Additionally, it enhances safety by preventing hot air from escaping, protecting surrounding surfaces from excessive heat exposure.
Manufacturer

✓ This Product Replaces:
WB04T10001