
The store will not work correctly in the case when cookies are disabled.
We collect user information to provide a better user experience and protect the security of our website. By continuing to use our website, you acknowledge the use of cookies.
Observance of Labor day 09/07, Monday we are closed [No shippings and deliveries ], Orders received after 3.00pm CST on 09/04/2026 will be shipping out on Tuesday 09/08/2026.
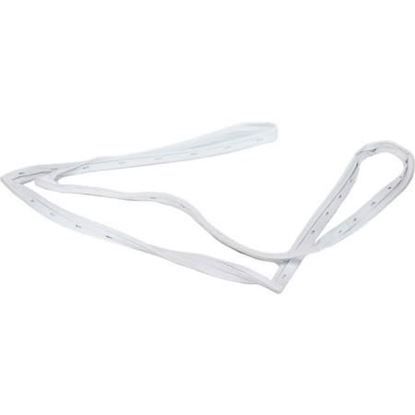
The Whirlpool WP4-81679-001 Refrigerator Door Gasket ensures a tight seal, keeping cold air inside and maintaining optimal cooling efficiency. This flexible rubber gasket lines the refrigerator door, preventing warm air from entering. When the door closes, the gasket compresses to form an airtight barrier, helping to maintain a stable internal temperature. This function reduces energy consumption by preventing the cooling system from overworking. By sealing the door effectively, it helps keep food fresher for longer and prevents frost buildup inside the compartment. The secure fit also minimizes temperature fluctuations, ensuring consistent cooling performance. With a simple installation, it restores proper sealing, improves energy efficiency, and enhances the overall freshness of stored food.
What maintenance is required for the Whirlpool WP4-81679-001 Door Gasket?
Clean the freezer gasket regularly with mild soap and warm water to remove debris that can prevent a tight seal. Inspect for cracks, tears, or deformation and replace if damaged. Ensuring proper alignment and a clean sealing surface maintain efficient operation and prevents air leaks. Avoid harsh chemicals that can degrade the material.
What are common issues with the Whirlpool WP4-81679-001 Door Gasket?
Loss of magnetic seal causing air leaks.
Cracks, tears, or warping in the rubber material.
Frost or freezer ice buildup along the door edge.
Poor alignment leading to improper door closure.
Gaps that allow warm air infiltration and inconsistent internal temperature.
Installation Steps
Step1: Unplug the freezer and remove all food parts for safety.
Step2: Remove the old gasket by loosening screws and gently pulling it away.
Step3: Clean the door channel thoroughly to ensure proper seal installation.
Step4: Align the new gasket and press firmly into place securing edges.
Step5: Reconnect power, close door, and check for tight seal before use.
