The store will not work correctly in the case when cookies are disabled.
We collect user information to provide a better user experience and protect the security of our website. By continuing to use our website, you acknowledge the use of cookies.
Observance of Labor day 09/07, Monday we are closed [No shippings and deliveries ], Orders received after 3.00pm CST on 09/04/2026 will be shipping out on Tuesday 09/08/2026.
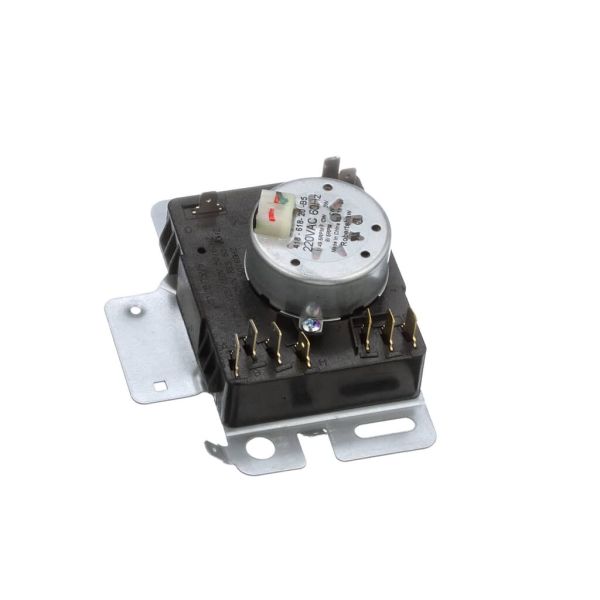
The Whirlpool WPW10436303 Dryer Timer is responsible for controlling the drying cycle in the dryer. It regulate the time and duration of each phase of drying, making it easy to get quality washed clothes. It regulate the heat and the time it take to dry the clothe to avoid over-drying or under-drying. Some benefits are better drying performance, the longer service life of the appliance, and the ability to control the process.
What maintenance is required for the Whirlpool WPW10436303 Timer?
Keep the dryer control area clean and dry to protect the timer from moisture and lint buildup. Avoid forcing the timer knob, as excessive pressure can damage internal contacts. Periodically unplug the dryer and inspect wiring connections. Proper care helps maintain accurate cycle timing.
What are common issues with the Whirlpool WPW10436303 Timer?
Timer knob skips positions.
Cycle ends before drying completes.
Dial becomes difficult to rotate.
Dryer runs beyond the selected time.
Installation Steps
Step 1: The appliance should be disconnected from the power source and the electrical circuit supplying it should be deactivated.
Step 2: The screws or connectors that hold the control panel in place should be taken out and set aside. A retaining clip may be featured by certain Whirlpool models; if this applies, a flat-head screwdriver should be utilized to press down the clip prior to the control panel being removed.
Step 3: The control panel should be detached and the timer, which is typically situated on the left side of the panel, should be identified.
Step 4: The wires linked to the timer should be disconnected. Some connections are secured by spring clips, while others might need a screwdriver for removal.
Step 5: The arrangement of the wires and their connections should be observed before the timer is extracted. These connections should be moved to the new timer.
Step 6: The new timer should be positioned into place. Once the connections are established, the control panel should be replaced and the screws or connector should be reattached.
Step 7: The appliance should be reconnected to the power supply and the electrical circuit should be switched on.
Step 8: The timer's functionality should be verified. This involves the timer being set and any sounds of clicking or movement in parts being checked.
By adhering to these steps, the Whirlpool WPW10436303 timer can be effectively replaced.
Please remember that these instructions should be utilized as general guidance and should always be utilized alongside the manufacturer's manual, if accessible.